Prepping is about being prepared for emergencies, ensuring safety and sustainability. It involves stockpiling essentials like food, water, and medical supplies, staying informed, and planning for unexpected crises.
What is Prepping and Why is it Important
Prepping is a proactive approach to life, focusing on readiness for emergencies, disasters, and unforeseen events. It involves creating strategies and stockpiling resources to ensure safety, sustainability, and self-sufficiency. Preppers prioritize preparedness to navigate crises like natural disasters, economic collapses, or health pandemics. The key idea is to anticipate potential risks and take practical steps to mitigate them. Prepping is not just for extreme scenarios; it applies to everyday challenges, such as power outages or job loss. By being prepared, individuals and families can reduce stress, protect their well-being, and maintain stability during uncertain times. Prepping fosters resilience and empowers people to take control of their safety and future. It is a mindset that values foresight, organization, and the ability to adapt to changing circumstances. Prepping is essential for anyone seeking peace of mind and the confidence to face life’s unpredictability.
Identifying Potential Emergencies
Preppers identify natural, economic, and health-related crises as key threats. Staying informed and planning strategies to address these risks ensures readiness and resilience in uncertain situations.
Natural Disasters: Earthquakes, Hurricanes, and Floods
Natural disasters like earthquakes, hurricanes, and floods pose significant threats to safety and infrastructure. Earthquakes can cause structural damage, while hurricanes bring powerful winds and flooding. Floods, often resulting from heavy rains or storm surges, can inundate homes and disrupt supplies. Preppers must assess their region’s vulnerability to these events. For earthquakes, securing heavy furniture and having an evacuation plan is crucial. Hurricanes require stockpiling food, water, and supplies, as well as preparing for potential evacuations. Floods demand waterproof storage of essentials and knowing safe shelter locations. Understanding these risks allows preppers to tailor their strategies, ensuring resilience and minimizing damage. Staying informed about weather alerts and maintaining emergency kits are key steps in managing these unpredictable threats effectively.

Economic Collapse and Financial Emergencies
An economic collapse or financial emergency can disrupt daily life, leading to job losses, inflation, and scarcity of resources. Preppers must prepare for such scenarios by building a financial safety net. This includes saving at least six months’ worth of living expenses in an easily accessible form. Diversifying resources, such as investing in precious metals or bartering goods, can provide stability. Stockpiling essential items like food, water, and medical supplies is crucial, as supply chains may fail. Understanding how to manage debt and reduce expenses is also vital. Staying informed about economic trends and having a plan for alternative income sources can help mitigate risks. Preparing for financial emergencies ensures that individuals can navigate economic instability with resilience and adaptability, safeguarding their well-being during uncertain times.
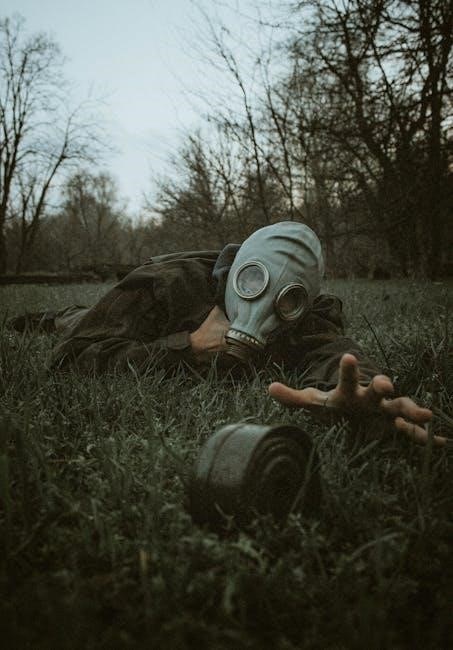
Pandemics and Health Crises
Pandemics and health crises pose significant threats to communities, requiring proactive preparation. Stockpiling personal protective equipment (PPE), such as masks and gloves, is essential to reduce infection risks. Having a well-stocked medical kit with medications, hand sanitizers, and disinfectants is critical. Establishing a hygiene routine, including frequent handwashing, can help prevent the spread of diseases. A quarantine plan, including a safe isolation area, ensures infected individuals can recover without endangering others. Staying informed about outbreak hotspots and virus transmission methods allows for timely decision-making. Preppers should also consider alternative medical treatments and know-how to properly dispose of biohazardous waste. Mental health support is equally important, as prolonged isolation can take a toll. By prioritizing health preparedness, individuals can protect themselves and their families during a pandemic or health crisis, ensuring safety and resilience.
Social Unrest and Civil Disturbances
Social unrest and civil disturbances can lead to chaos, making prepping essential for safety. Creating a secure shelter, such as a reinforced safe room, is vital. Stocking emergency supplies like food, water, and first aid kits ensures sustainability during disruptions. A communication plan with family members, including a designated meeting point, is crucial. Avoiding volatile areas and staying informed about local conditions through reliable news sources helps prevent danger. Having self-defense tools, such as pepper spray or a baton, provides an added layer of protection. Establishing a support network with neighbors or like-minded individuals can offer mutual aid. A backup power source, like a portable generator, is useful during outages. Mental preparation for stress is key to maintaining composure. By planning for these scenarios, individuals can navigate social unrest effectively, ensuring their safety and well-being during uncertain times.
Water and Food Storage

Storing water and non-perishable food is crucial for survival. Aim to stockpile at least one gallon of water per person daily and enough rations for several months. Plan wisely.
Water Purification Methods and Storage Solutions
Access to clean water is essential during emergencies. Common purification methods include boiling, water filters, and chemical treatments like chlorine or iodine tablets. These remove contaminants and pathogens effectively. For storage, use durable, food-grade containers and keep them in a cool, dark place. Label containers with dates and contents for easy tracking. Consider investing in water barrels or collapsible tanks for larger quantities. Regularly inspect and maintain your water supply to ensure safety and prevent contamination. Always follow guidelines for proper purification and storage to safeguard your water resources. Proper planning ensures a reliable water supply during crises, making it a cornerstone of prepping strategies. Stay prepared and informed to protect your health and well-being in uncertain times.
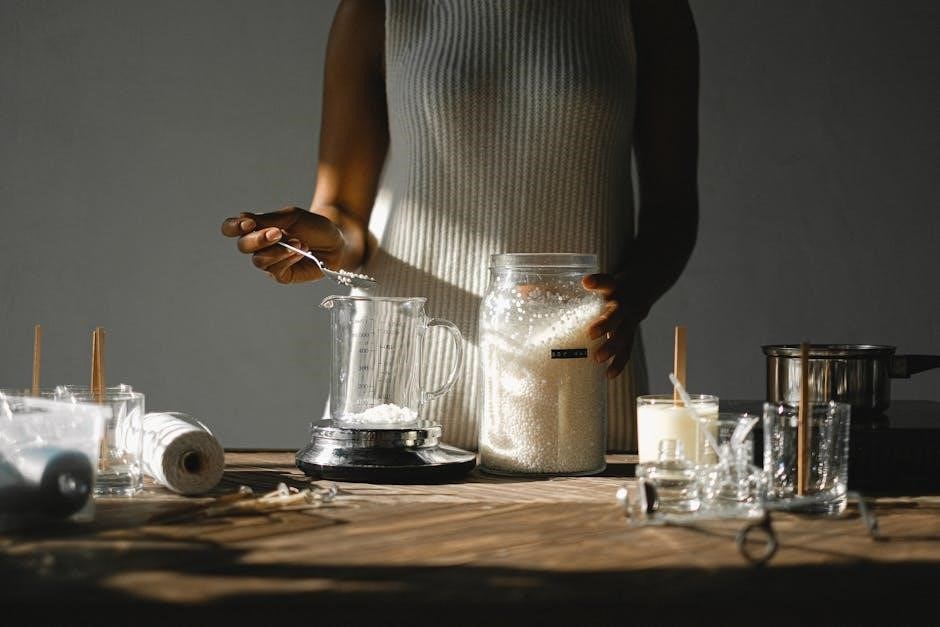
Food Stockpiling: Non-Perishable Items and Rations
Stockpiling non-perishable food is a critical aspect of prepping, ensuring sustenance during emergencies. Focus on items like canned goods, dried legumes, grains, and energy-rich foods such as nuts and dried fruits. MREs (Meals Ready to Eat) and freeze-dried meals are excellent options for long-term storage. Plan rations based on the number of people and the duration of potential crises, aiming for at least one pound of food per person per day. Include a manual can opener and a variety of spices to maintain nutrition and morale. Store food in airtight, pest-proof containers in a cool, dry place. Rotate supplies every 6–12 months to ensure freshness. Avoid bulky or single-use items to optimize space and flexibility. A well-stocked pantry ensures dietary needs are met, providing peace of mind and sustenance during challenging times.

Shelf Life and Rotation of Emergency Supplies
Managing the shelf life and rotation of emergency supplies is vital to ensure their effectiveness when needed. Most non-perishable foods and medical supplies have extended shelf lives, but they must be monitored and replaced as needed. Canned goods, dried legumes, and grains can last for decades when stored properly, while items like batteries and medications have shorter lifespans. A “first in, first out” rotation system ensures older items are used before they expire. Labeling supplies with purchase or storage dates helps track their age. Regularly inspecting supplies for signs of spoilage, damage, or expiration is crucial. Rotate stocks every 6–12 months to maintain freshness and usability. Neglecting rotation can lead to wasted resources and potential shortages during crises. A well-maintained supply cache ensures reliability and readiness for any emergency situation.

First Aid and Medical Supplies
A well-stocked first aid kit is crucial for treating injuries and preventing infections. Include bandages, antiseptics, pain relievers, gloves, and tweezers to address minor to serious medical situations.
Basic First Aid Kit Essentials

A well-prepared first aid kit is vital for addressing minor injuries and preventing more serious conditions. Essential items include bandages, antiseptic wipes, gauze pads, medical tape, and gloves to ensure sterile care. Pain relievers like ibuprofen or acetaminophen, along with antihistamines for allergic reactions, are crucial. Tweezers and scissors are necessary for removing splinters or cutting bandages. A first aid manual provides guidance for treating injuries. Additionally, include supplies like eye wash, thermometers, and cold packs for burns or sprains. Don’t forget personal protective equipment, such as masks, to safeguard against bodily fluids. Regularly check expiration dates and replenish supplies to maintain readiness. A basic first aid kit empowers you to respond effectively in emergencies, ensuring safety and stability until professional help arrives.
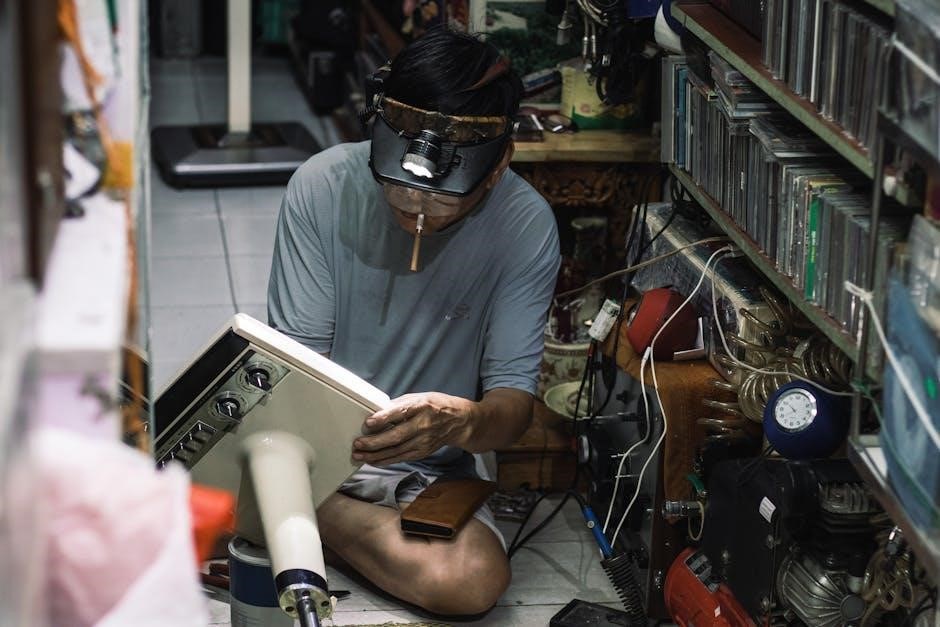
Advanced Medical Gear for Emergency Situations
For severe injuries or prolonged crises, advanced medical gear is essential. Consider adding a portable defibrillator, oxygen tank, and ventilator for critical care situations. Suture kits and surgical instruments, such as forceps and scalpels, enable field surgery. Tourniquets and hemostatic agents are vital for controlling severe bleeding. Include splints for fractures and a portable X-ray or ultrasound device for diagnostics. Prescription medications, like antibiotics and painkillers, should be stockpiled with a valid prescription. IV fluids and administration sets are crucial for dehydration or shock. Personal protective equipment, such as masks and gowns, protects against bodily fluids. Advanced wound care items, like sterile dressings and debridement tools, aid in infection prevention. A medical manual or guidebook is indispensable for step-by-step procedures. Regular training on using this equipment ensures effectiveness in high-stress scenarios, making it a critical component of any prepper’s arsenal.