The Alfa Romeo Giulietta manual transmission offers precise control and a direct driving experience, enhancing the connection between driver and vehicle for enthusiast appeal.
1.1 Overview of the Giulietta Model
The Alfa Romeo Giulietta is a compact hatchback celebrated for its blend of Italian style, dynamic performance, and practicality. Known for its agile handling and responsive steering, the Giulietta has become a favorite among driving enthusiasts. Available with a range of engine options and transmissions, including a precise 6-speed manual gearbox, it delivers a engaging driving experience. The Giulietta QV, in particular, stands out with its sporty appeal and manual transmission, embodying the spirit of Alfa Romeo’s heritage.
1.2 Importance of Manual Transmission in the Giulietta
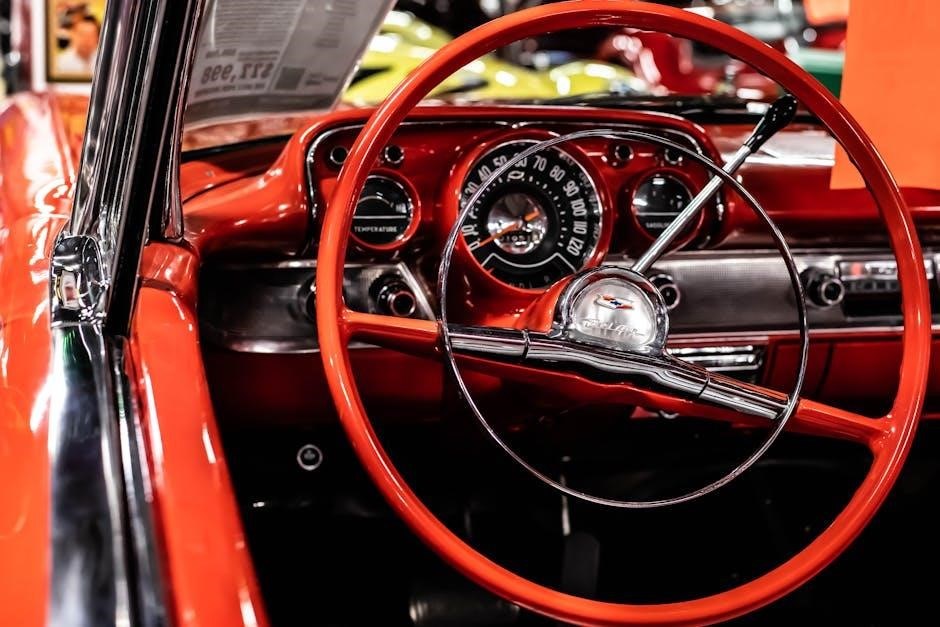
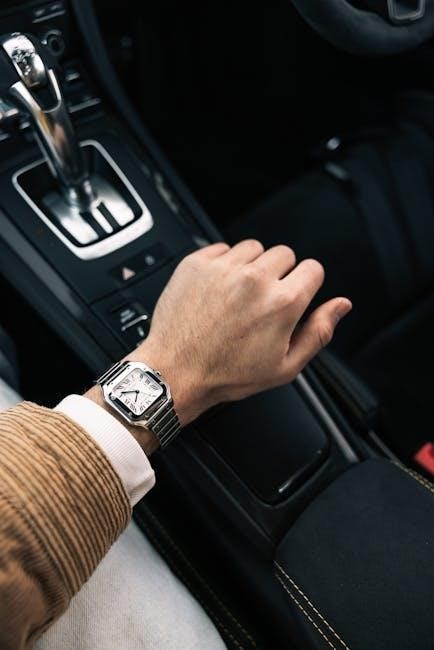
The manual transmission in the Alfa Romeo Giulietta is cherished for its precise control and direct driver engagement, making it a hallmark of the driving experience. Enthusiasts appreciate the tactile connection it provides, enhancing the sporty character and responsiveness of the vehicle. The 6-speed manual gearbox is particularly praised for its smooth shifting and ability to maximize the car’s dynamic potential, embodying Alfa Romeo’s passion for driving purity.
History and Evolution of the Giulietta Manual Transmission
The Giulietta’s manual transmission traces its roots to earlier Alfa Romeo models, evolving from 5-speed to 6-speed configurations. The introduction of the TCT dual-clutch transmission marked a modern shift while retaining the manual option for purists, ensuring the Giulietta remains true to its performance-driven heritage.
2.1 Early Models and Their Transmission Features
Early Giulietta models featured a standard 5-speed manual transmission, known for its durability and smooth gear shifts. These transmissions were paired with various engine options, providing drivers with a direct and engaging driving experience. The manual gearbox became a hallmark of the Giulietta’s performance-oriented design, appealing to enthusiasts who valued precision control and a connection to the vehicle.
The Alfa Romeo Giulietta introduced the TCT dual-clutch transmission, offering a blend of automatic convenience and manual precision. First seen in the MiTo, the TCT debuted in the Giulietta, providing smooth, quick shifts and improved fuel efficiency. This semi-automatic option complemented the existing manual gearbox, expanding the Giulietta’s appeal by combining performance with everyday practicality.
Technical Specifications of the Giulietta Manual Transmission
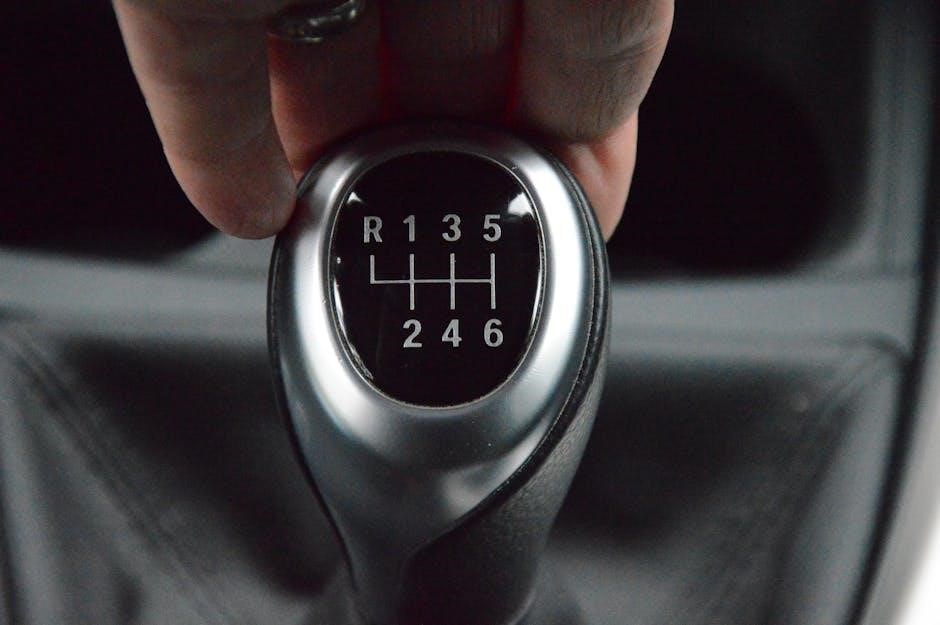
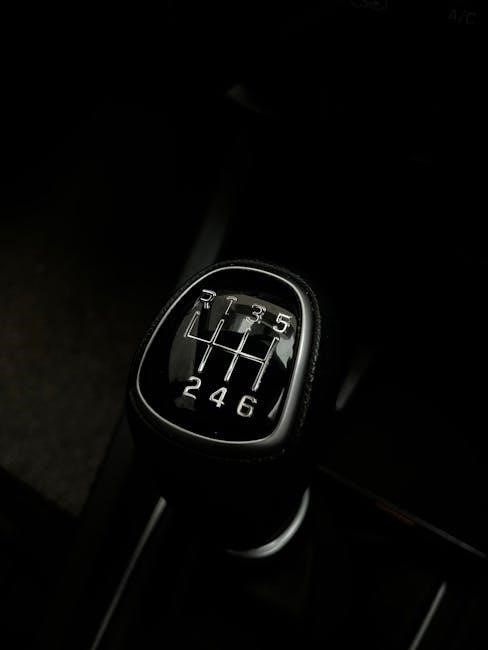
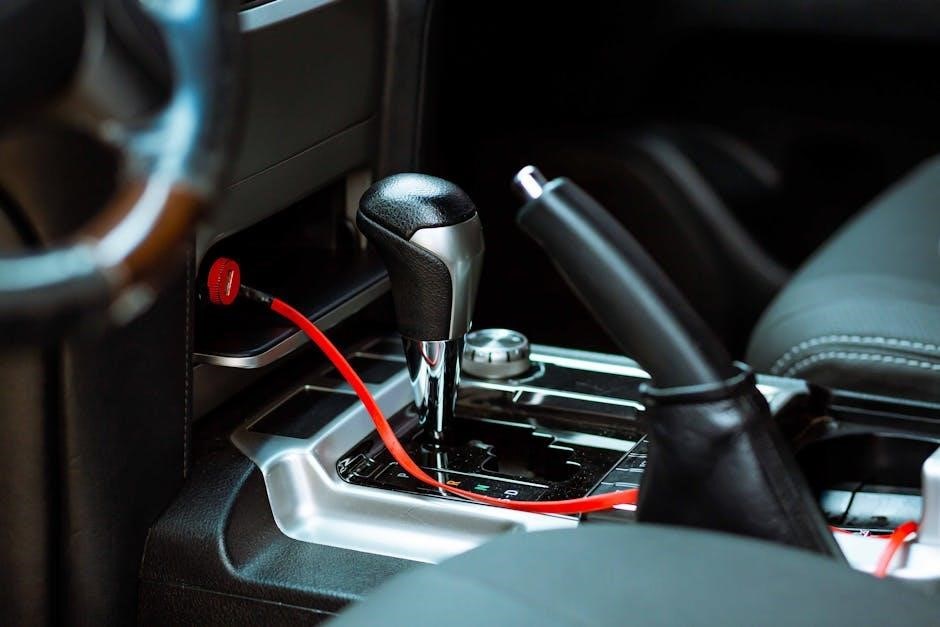
The Giulietta features a 6-speed manual transmission, offering precise gear shifts and durability. Compatible with various engine types, it ensures smooth performance while maintaining fuel efficiency standards.
3.1 Gearbox Details and Performance
The Giulietta’s 6-speed manual gearbox, designed by FPT, delivers precise and smooth shifts, enhancing driver engagement. Its robust construction ensures durability while maintaining optimal performance across various engine types. The gearbox is finely tuned to maximize power delivery and fuel efficiency, providing a responsive and enjoyable driving experience for enthusiasts and everyday drivers alike.
3.2 Compatibility with Different Engine Types
The Giulietta’s manual transmission seamlessly pairs with various engine options, including petrol and diesel units. It is compatible with the 1.4-litre turbo, 1.6 JTDm, and other powertrains, ensuring smooth power delivery and efficiency. This versatility makes the manual gearbox a suitable choice for both performance-oriented and fuel-efficient engine configurations, catering to a wide range of driver preferences and needs.
3.3 Availability of Manual Transmission in Various Trims
The Alfa Romeo Giulietta offers manual transmission across various trims, including the Giulietta Super and Giulietta QV. While the QV’s manual was initially limited to Australia, other trims like the Super provide a standard six-speed manual option, ensuring a blend of fuel efficiency and driving engagement across the model range.
The Giulietta QV with Manual Transmission
The Giulietta QV, a high-performance variant, is available with a six-speed manual transmission, offering a sporty driving experience with its 1.75-litre turbo engine.
4.1 Performance and Handling
The Giulietta QV with a manual transmission delivers exceptional performance and agility, pairing a lightweight, turbocharged engine with precise gear control for an engaging drive experience.
4.2 Popularity Among Enthusiasts
The Alfa Romeo Giulietta QV with a manual transmission has garnered significant admiration from driving enthusiasts, offering a purist driving experience that emphasizes connection and control. Its popularity stems from the engaging nature of the manual gearbox, which aligns with Alfa Romeo’s heritage of delivering dynamic and responsive vehicles. This model has become a favorite among those who value precision and the joy of driving.
Fuel Efficiency and Manual Transmission
The Alfa Romeo Giulietta’s manual transmission contributes to improved fuel efficiency, offering a balance between performance and economy that appeals to both enthusiasts and practical drivers alike.
5.1 Fuel Consumption Rates
The Alfa Romeo Giulietta with manual transmission achieves efficient fuel consumption rates, particularly with its 1.4-liter turbocharged engine, delivering a balance of performance and economy. The manual gearbox enhances fuel efficiency compared to automatic variants, making it a practical choice for everyday driving while maintaining the car’s sporty character and driver engagement.
5.2 Impact of Manual Transmission on Fuel Economy
The manual transmission in the Alfa Romeo Giulietta generally offers better fuel economy compared to automatic versions due to lower parasitic losses. Drivers can optimize efficiency through precise gear control, especially in urban driving. Models like the 1.4-liter turbocharged engine paired with the manual gearbox demonstrate improved mileage, making it a cost-effective choice for those prioritizing economy without sacrificing performance.
Maintenance and Repair of the Manual Transmission
Regular servicing of the manual transmission ensures longevity and smooth operation, including timely clutch replacement, monitoring gear engagement, and checking gear linkage condition to maintain optimal performance.
6.1 Common Issues and Solutions
Common issues with the Giulietta manual transmission include noisy gears due to insufficient lubrication and clutch wear from heavy usage. Solutions involve replacing worn clutch components, ensuring proper gearbox oil levels, and addressing gear linkage adjustments. Regular servicing and synthetic oil upgrades can enhance transmission longevity and performance, addressing these issues effectively.
6.2 DIY Maintenance Tips
Regular gearbox oil changes with synthetic fluids can enhance transmission longevity. Checking clutch fluid levels and ensuring proper linkage adjustments are simple DIY tasks; Owners can also inspect and clean the gear linkage for smooth operation. Always refer to the workshop manual for specific instructions and use high-quality components for optimal performance and reliability.

Driving Experience with the Giulietta Manual
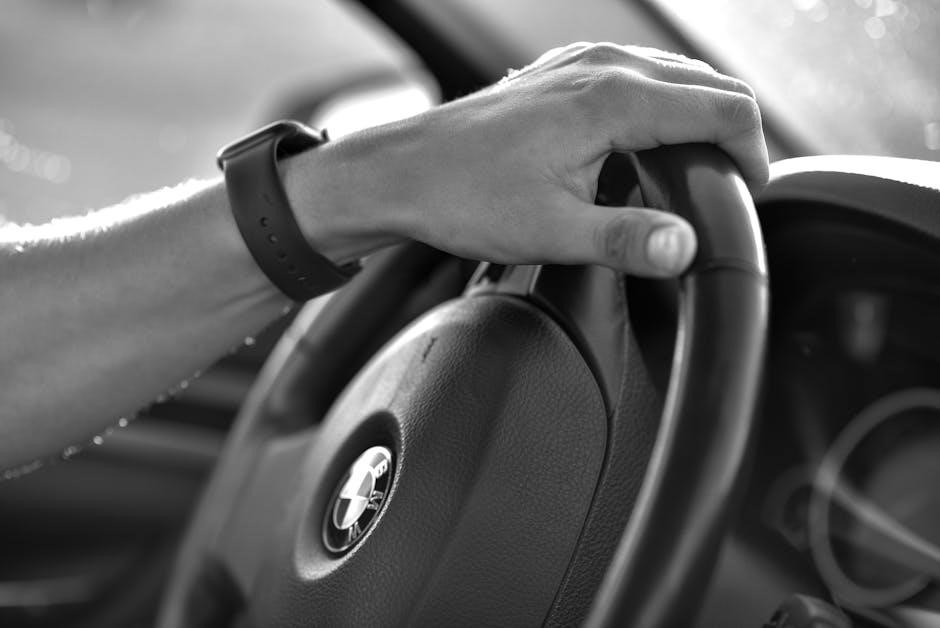
The Giulietta manual transmission delivers a engaging and precise driving experience, offering enthusiasts a direct connection to the road and enhancing overall driver satisfaction and control.
7;1 Driver Feedback and Reviews
Drivers praise the Giulietta manual transmission for its precise shifting and responsive feel, enhancing the driving experience. Many enthusiasts highlight it as a key factor in their purchase decision, emphasizing the connection it provides to the road. Positive reviews often mention the transmission’s smooth operation and how it complements the car’s performance, making it a standout feature for those who value a more engaging drive.
7.2 Comparison with Automatic and TCT Versions
The manual transmission in the Alfa Romeo Giulietta is often compared to its automatic and TCT versions. While the automatic offers smoothness in city driving, the manual provides better fuel efficiency and a more engaging experience. The TCT, with its quick shifts, appeals to performance enthusiasts but can feel less refined in slow traffic conditions.
Aftermarket Modifications for the Manual Transmission
Aftermarket modifications for the Giulietta manual transmission include performance upgrades, such as lightweight flywheels and short-shift kits, enhancing driver engagement and responsiveness behind the wheel.
8.1 Performance Upgrades
Performance upgrades for the Giulietta manual transmission include short-shift kits, lightweight flywheels, and optimized gear ratios, enhancing acceleration and shifting precision. Enthusiasts can also install aftermarket limited-slip differentials and high-performance clutch kits for improved traction and control during spirited driving. These modifications complement the Giulietta’s sporty nature, offering drivers a more engaging and responsive experience behind the wheel.
8.2 Availability of Aftermarket Parts
The Alfa Romeo Giulietta manual transmission benefits from a wide range of aftermarket parts available online. Popular retailers like eBay, Carvana, and AUTODOC offer components such as gearboxes, clutches, and transmission oils. Enthusiasts can also find performance-enhancing parts like lightweight flywheels and short-shift kits to optimize their driving experience. Additionally, specific upgrades like Pro-Kit lowering springs and high-performance clutch kits are popular among owners. This accessibility ensures that Giulietta owners can maintain and upgrade their vehicles with ease, supporting both maintenance and performance needs.
Future of Manual Transmission in Alfa Romeo
Alfa Romeo faces uncertainty regarding manual transmissions, with rumors of discontinuation. However, enthusiast demand and market trends suggest potential for future manual models, ensuring driver engagement remains alive.
9.1 Discontinuation Rumors and Market Trends
Rumors suggest Alfa Romeo may discontinue manual transmissions, focusing on automatic and TCT dual-clutch options. Market trends show declining manual sales, but enthusiast demand persists. The Giulia Quadrifoglio, for instance, is no longer offered with a manual in the U.S., while the Giulietta’s manual version remains limited to specific markets, indicating a strategic shift toward efficiency and modernization in transmission choices.
9.2 Potential for Future Manual Models
Despite market trends favoring automatics, Alfa Romeo may retain manual transmissions in niche models or special editions to cater to driving purists. Enthusiast demand remains strong, suggesting that future manual variants could coexist with automatic and TCT options, particularly in performance-oriented trims like the Giulietta QV, ensuring a balance between modernization and the emotional appeal of manual driving experiences.
The Alfa Romeo Giulietta manual transmission offers a unique blend of performance, driving engagement, and timeless appeal, making it a cherished option for enthusiasts seeking a more connected driving experience.
10.1 Final Thoughts on the Giulietta Manual Transmission
The Alfa Romeo Giulietta manual transmission stands out as a testament to driving purity, offering precise control and a visceral connection to the road. Its engaging nature and performance capabilities make it a favorite among enthusiasts. While the automotive world shifts toward automation, the Giulietta’s manual option remains a celebration of traditional driving joy, appealing to purists who value the art of shifting gears.
10.2 Recommendations for Potential Buyers
Potential buyers seeking a thrilling driving experience should consider the Giulietta with a manual transmission. Ideal for enthusiasts, it offers precise control and a direct connection to the road. Test drive the model to assess its fit with your driving style and preferences. For those valuing performance and driving dynamics, the manual Giulietta is a compelling choice. Additionally, consider the availability of aftermarket modifications and maintenance support.