
by John D. Anderson Jr. offers a comprehensive overview of aeronautical and aerospace engineering, blending fundamental principles with modern applications. Designed for engineering students and enthusiasts, the book explores aerodynamics, propulsion, and the history of aviation, providing a detailed yet accessible guide to understanding flight mechanics and its evolution. Available as a PDF, it remains a cornerstone resource for both academic and professional use.
Overview of the Book
by John D. Anderson Jr. is a widely acclaimed textbook that provides a detailed exploration of aeronautical and aerospace engineering. The eighth edition combines fundamental principles with modern applications, making it a valuable resource for students and professionals alike. The book covers essential topics such as aerodynamics, propulsion systems, and the history of aviation, offering a balanced blend of theory and practical insights. Its clear and structured approach ensures that complex concepts are accessible to readers with varying levels of expertise. This comprehensive guide is available as a PDF, making it easily accessible for academic and professional use.
Importance of the Topic in Aerospace Engineering
by John D. Anderson Jr. plays a crucial role in educating future engineers, providing a clear and concise explanation of these principles. Its emphasis on both theoretical knowledge and practical applications ensures that students are well-prepared to tackle real-world challenges in the field. This makes the book an indispensable resource for anyone pursuing a career in aerospace engineering.

Foundations of Aerodynamics
by John D. Anderson Jr. explores the fundamental principles of aerodynamics, including lift, drag, and thrust, crucial for understanding aircraft performance and design.
Basic Principles of Flight Mechanics
, explain how aircraft achieve and sustain motion. The book emphasizes Newton’s laws and aerodynamic equations, providing a foundational understanding of flight dynamics. By analyzing these forces and their interactions, the text enables readers to grasp the physics behind powered and unpowered flight, essential for aerospace engineering and aviation applications.
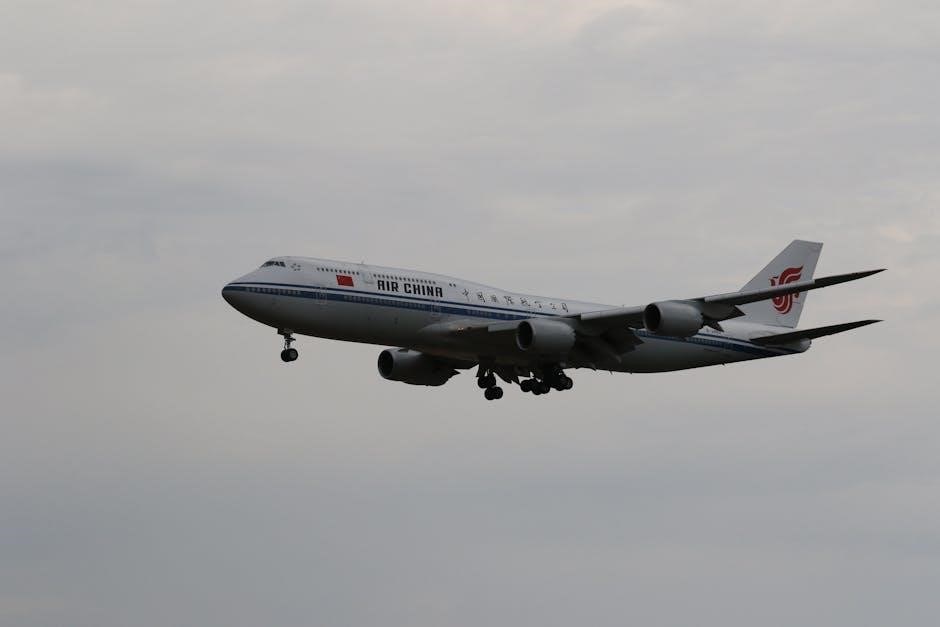
Forces Acting on an Aircraft
, John D. Anderson Jr. explains how these forces interact to enable flight. The book details how lift is created through airfoil shape and motion, while thrust and drag are influenced by engine power and aerodynamic design. Understanding these forces is critical for analyzing aircraft performance and designing efficient flight systems.

History and Development of Flight
The history of flight traces from the Wright Brothers’ first powered flight to modern aerospace advancements. John D. Anderson Jr.’s work captures these milestones, detailing the evolution of aviation technology.

Early Achievements in Aviation
The early achievements in aviation laid the foundation for modern flight. The Wright Brothers’ successful powered flight in 1903 marked a pivotal moment, demonstrating controlled, sustained flight. Pioneers like Octave Chanute and Glenn Curtiss contributed significantly to aerodynamic designs and propulsion systems. These innovations, chronicled in John D. Anderson Jr.’s work, highlight the progression from rudimentary gliders to complex aircraft, setting the stage for the rapid advancement of aviation technology in the 20th century. Anderson’s detailed historical context provides a roadmap of how early experiments and breakthroughs evolved into the sophisticated aerospace engineering of today.
Evolution of Aerospace Engineering
The evolution of aerospace engineering has been marked by transformative advancements, from the advent of jet engines to the development of spacecraft. John D. Anderson Jr.’s work highlights how breakthroughs in materials science, computational fluid dynamics, and propulsion systems have driven innovation. The transition from propeller-driven aircraft to supersonic jets and reusable rockets exemplifies this progress. Modern aerospace engineering now focuses on efficiency, sustainability, and exploration, with ongoing initiatives like electric propulsion and Mars exploration. Anderson’s insights illustrate how these developments have reshaped the field, enabling humanity to push beyond Earth’s atmosphere and explore the cosmos.
Key Concepts in Aerospace Engineering
by John D. Anderson Jr. explores fundamental concepts such as aerodynamics, propulsion systems, and flight mechanics, providing a solid foundation for understanding aerospace engineering principles.
Aerodynamic Design and Optimization
, aerodynamic design and optimization are explored through principles like lift, drag, and thrust. Anderson explains how shape and surface features influence airflow, reducing drag and enhancing efficiency. Modern computational tools and wind tunnel testing are highlighted as key methods for optimizing designs. The book emphasizes the balance between theoretical understanding and practical applications, making it a valuable resource for engineers aiming to improve aircraft performance and fuel efficiency through innovative aerodynamic solutions.

Propulsion Systems and Their Efficiency
delves into propulsion systems, detailing how engines generate thrust and the factors affecting their efficiency. Anderson covers various types, from turbojets to turboprops, explaining thermodynamic cycles and fuel consumption. The book emphasizes advancements in engine design, such as high-bypass turbofans, which improve fuel efficiency and reduce emissions. Practical examples illustrate how propulsion systems are optimized for specific aircraft, balancing performance, cost, and environmental impact. This section provides a clear understanding of the engineering behind modern propulsion technologies and their role in advancing aviation.

Modern Applications of Flight Technology
highlights the transformative role of modern aviation, from commercial air travel to space exploration. Advances in propulsion and aerodynamics enable efficient, high-speed transportation, connecting global communities and driving technological innovation. The book underscores the importance of sustainable practices and future trends in aerospace engineering, shaping the next generation of flight technology.
Commercial Aviation and Its Impact
, advancements in aerodynamics and propulsion have made air travel safer, faster, and more efficient. The industry supports economic growth, facilitates tourism, and bridges cultural gaps. However, challenges like fuel efficiency and environmental impact remain critical. Anderson’s work emphasizes the importance of sustainable practices in modern aviation, highlighting innovations aimed at reducing emissions and enhancing performance. The evolution of commercial aviation continues to shape global trade and societal progress, illustrating its profound and multifaceted impact on modern life.
Space Exploration and Future Trends
, Anderson highlights the seamless integration of aeronautics and astronautics, detailing how advancements in propulsion and materials science have enabled space travel. Reusable rockets and advanced propulsion systems are revolutionizing access to space, while private companies like SpaceX and Blue Origin are driving innovation. Future trends include lunar and Mars colonization, in-orbit manufacturing, and solar system exploration. Anderson’s work underscores the importance of sustainable technologies and international collaboration in shaping the next era of space discovery, inspiring new generations to pursue aerospace engineering and its limitless possibilities.
John D. Anderson Jr.: Biography and Contributions
, is a cornerstone in aerospace education, blending historical context with modern engineering principles, inspiring future innovators in aviation and space exploration.
His Role in Aerodynamics and Education
, serves as a foundational resource, blending theoretical concepts with practical applications. Anderson’s contributions include advancing aerodynamic research and inspiring students, making complex engineering principles accessible. His educational efforts have shaped the next generation of aerospace professionals, ensuring continued innovation in flight technology and space exploration.
Legacy in Aerospace Engineering
is a cornerstone text, widely used for its clarity and depth. Anderson’s work at the Smithsonian and the University of Maryland has inspired countless engineers and researchers. His ability to bridge theory and practice has advanced the field, ensuring future innovations in aviation and space exploration. His teachings and writings continue to influence new generations, solidifying his impact on the evolution of aerospace engineering.

Resources for Further Study
PDF for in-depth insights. Explore McGraw-Hill publications and online platforms like multiscale.ru for additional aerospace engineering resources.
Recommended Reading and References
by John D. Anderson Jr. is a cornerstone. Supplement with Fundamentals of Aerodynamics for advanced concepts. McGraw-Hill textbooks offer comprehensive coverage. Explore multiscale.ru for additional resources, including conference materials like RGD and EUCASS. Access research papers on aerodynamics and aerospace engineering through academic databases. The Smithsonian Institution’s publications provide historical insights. Utilize online forums and educational platforms for interactive learning tools and updated aerospace engineering content. These resources collectively enrich the study of flight technology and its applications.
Online Platforms for Aerospace Engineering
. Websites such as NASA.gov provide research papers and simulation tools. The National Air and Space Museum’s website features educational resources and historical archives. Platforms like ResearchGate and Google Scholar offer access to academic papers and the latest advancements. Additionally, forums and communities dedicated to aerospace engineering foster collaboration and knowledge sharing, making online learning and professional development more accessible and dynamic for enthusiasts and professionals alike.